SCANOLOGY has just introduced NimbleTrack Gen2. With upgraded technology, SCANOLOGY's NimbleTrack Gen2 is capable of scanning large and complex areas significantly faster, while maintaining measurement-level accuracy. This is the next generation of the company's mobile optical tracking and 3D scanning systems. SCANOLOGY's NimbleTrack Gen2 is designed to deliver higher performance, especially in speed and measurement range.

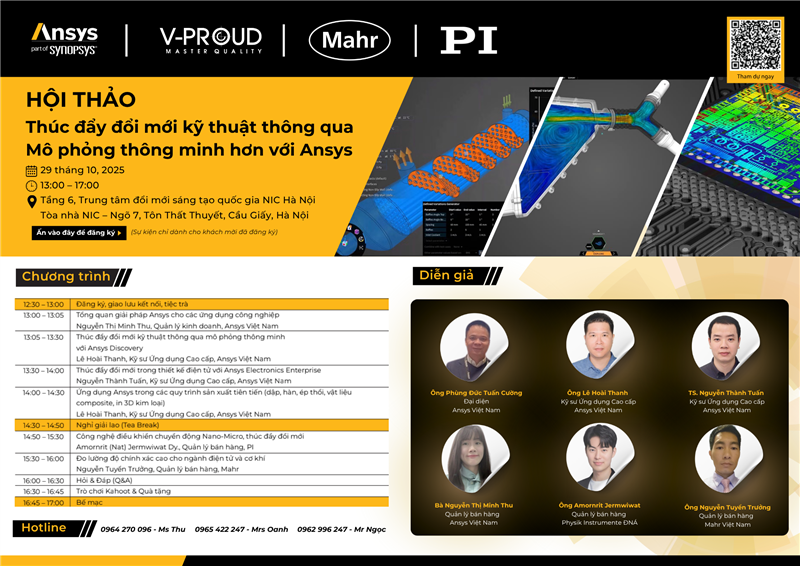
A breakthrough opportunity for R&D processes awaits the Vietnamese engineering community. The specialized workshop "Driving Engineering Innovation Through Smart Simulation" organized by ANSYS will take place on October 29, 2025, at the Innovation Hub Building, updating the latest advanced simulation solutions for the manufacturing, electronics design, and Nano-Micro industries.

In the global race to automate manufacturing, China is emerging as a pioneer with the “dark factory” model – where robots and artificial intelligence completely replace humans. Requiring no light or rest, the new generation of factories operate continuously 24/7 with superior precision and efficiency.
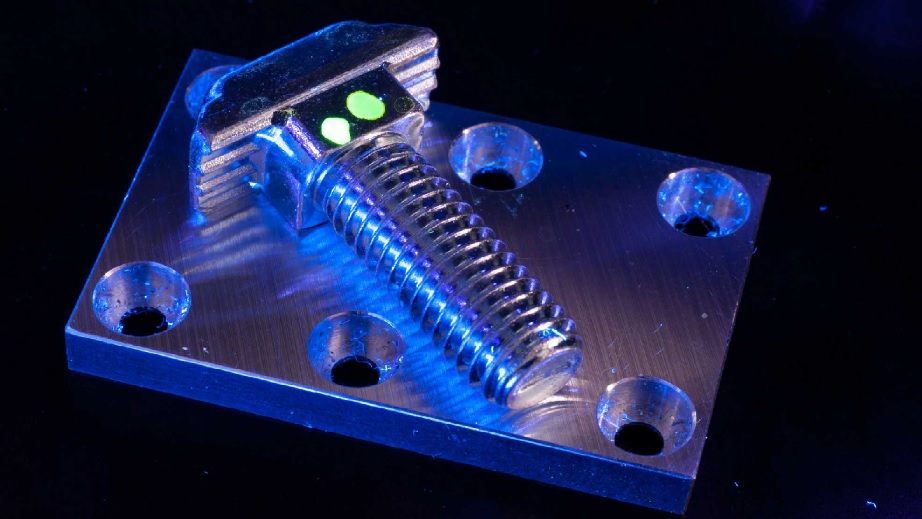
Fraunhofer IPM has developed highly sensitive, imaging fluorescence measuring systems for very different applications.
‘Qualitative’ and ‘quantitative’ may be just a couple of letters apart, but the difference is huge. When it comes to fluorescence measurement technology it has so far been used almost exclusively for qualitative analyses. Now, for the first time, a team of researchers at the Fraunhofer Institute for Physical Measurement Techniques IPM is successfully using the method to obtain quantitative measurements with a high local resolution.

Many materials and fabrics fluoresce, meaning they shine after irradiation with light, especially UV light. With this method, it is possible to detect fluorescing substances with an extremely high degree of sensitivity. Since many functional coatings, but also impurities, have a characteristic intrinsic fluorescence, they can be detected by fluorescence analysis.
To use fluorescence in metrology, a light source, such as a laser or an LED, must be directed onto the object, which then emits light at a wavelength longer than that of the light source. Optical filters separate the fluorescent light from the excitation light. Cameras or photomultipliers are used for detection. In addition to the pure detection of organic contaminants on surfaces, the evaluation of the spectra is very informative, since in some cases it is possible to differentiate substances based on the spectra.
Fluorescence Measurement During Production
In production, the use of fluorescence measurement technology for the inspection of surfaces in terms of quality monitoring is of great importance. For example, it must be ensured that surfaces are free from contamination before coating or painting. Components must be checked for cleanness and medical devices for purity and sterility before assembly. Last but not least, the usability of a product often depends on adherence to the purity requirements during manufacture.
Fraunhofer IPM has developed highly sensitive, imaging fluorescence measuring systems for very different applications. Examples include the 100 percent check of oiled sheets and the purity control of metal components prior to welding, soldering or gluing. In addition, this technique can be used to test transparent, organic coatings for completeness and thickness. Due to the high measurement and evaluation speed, the systems can be used directly in the production line. Mechanics, optics, electronics, software and interfaces are customized.

Fluorescence-based techniques have been seen as ways of obtaining estimates rather than as reliable quantitative measurement processes. Ultimately, calibrating the process requires not only precise references but also a profound understanding of the factors that influence fluorescent radiation. “We have succeeded in taking an imprecise process and developing it into a robust and extremely fast precision measurement method,” explains Dr. Albrecht Brandenburg of the Fraunhofer Institute for Physical Measurement Techniques IPM. It seems the world has been holding its breath for this. The technology is spreading both nationally and internationally at an astonishing pace, and sales in this area at Fraunhofer IPM are already in the millions. Dr. Albrecht Brandenburg and Dr. Alexander Blättermann have received the Joseph von Fraunhofer Prize for their achievement. The jury’s decision is based on its high technical performance and the economically quantifiable benefit to the businesses that use it.
Showing Contamination in the Production Cycle
Another advantage is that the technology is inline-capable. “Complex 3D components can now be checked for contamination in production cycles mere seconds long — with one hundred percent accuracy,” says Brandenburg, who has been researching at Fraunhofer IPM for 30 years. It was his idea to use imaging fluorescence measurement technology to carry out checks on components — especially to detect contamination with oil or dirt. This information is particularly important in cases where safety is paramount, such as when bonding vehicle parts. To carry out the measurement, a short-wave violet laser beam scans the component’s surface and causes organic contaminants to give off long-wave light. This fluorescent light is captured by the laser scanner, converted into quantitative measurements and pieced together into an image. The process works for meter-long metal sheets as well as for small electronic components. “The performance data are spectacular: We are able to measure 40 million points per second, allowing us to show contamination of one milligram per square meter. From ten milligrams and upward, we can take quantitative measurements,” says Blättermann, who developed the inline system and put it into operation. “The F-scanner makes fluorescence measurement technology a viable option for quality control and process control.”
Global Success
When asked for the secret of this success, Brandenburg answers: “To meet the industrial need for a new technology, it is crucial to establish customer contacts during the development process and build collaborations at a very early stage.” An early customer, for example, was Robert Bosch GmbH: “With the new Fraunhofer process, we can detect the smallest levels of contamination on surfaces and increase the quality, and therefore the safety, of adhesive bonds of electronic control units,” says Dr. Heiko Elsinger, process developer in the Bosch Automotive Electronics division. “That improves reliability, makes processes faster and ultimately helps to make production sustainable.” Other businesses seem to see things the same way as Robert Bosch GmbH: Since 2015, the team led by Brandenburg and Blättermann has raised around 3.5 million euros in industrial contracts from twenty customers in five countries. “I am signing quotes for different designs of fluorescence inspection devices virtually every week — for users in Germany and worldwide. This trend is rising sharply,” says Prof. Karsten Buse, Institute Director of Fraunhofer IPM.
Source: ipm.fraunhofer
Read Quality Mastery magazine to get more information about quality management: https://qualitymastery.v-proud.vn/
If you are looking for quality management solutions, visit the following websites: v-proud.vn/product and doluongcongnghiep.vn.
#huynhquang #fluorescent #congnghe #dohuynhquang #fluorescentmeasurement #IPM #IPMFraunhofer #fraunhoferIPM
(84) 896 555 247