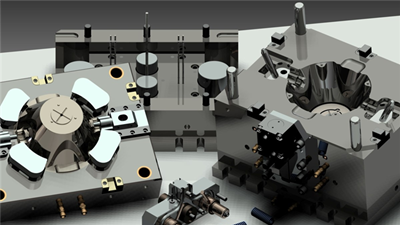
In the realm of modern manufacturing, jigs and fixtures play a pivotal role in ensuring the accuracy, repeatability, and efficiency of production processes. Traditional methods in designing and manufacturing jigs & fixtures often encounter certain challenges, including time-consuming manual measurements and the potential for errors..
Read more
🍃 All things change, and we change with them 🍃 All things change, and we change with them
Read more
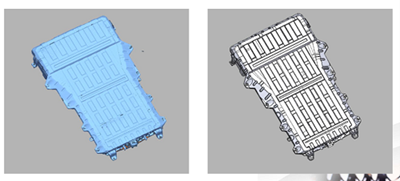
Due to its importance for safety and performance, the quality control of EV battery enclosures requires strict standards. Scantech 3D scanners have proven to be an effective and accurate tool in meeting these requirements.
Read more
The transition from ICE vehicles to EVs presents unique challenges due to the fundamental differences between the two power systems. Therefore, ensuring the high quality of battery systems is essential as manufacturers and suppliers accelerate their research, development, and engineering production for electric vehicles.
Read more
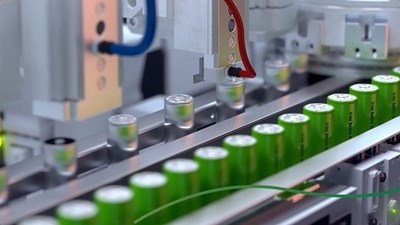
As the demand for electric vehicles continues its upward trajectory, automakers are making significant investments in the advancement of battery technology. Their focus is on delivering extended driving ranges and faster charging capabilities.
Read more
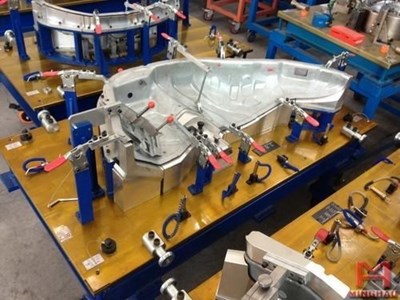
What role does Body In White fixture design play in this crucial process? Imagine trying to assemble a complex model from hundreds of small pieces. Without a sturdy "frame" or "support" to hold the parts in the correct positions, assembly would become extremely difficult, time-consuming, and the final product might not achieve the desired level of accuracy.
Read more(84) 896 555 247