SCANOLOGY has just introduced NimbleTrack Gen2. With upgraded technology, SCANOLOGY's NimbleTrack Gen2 is capable of scanning large and complex areas significantly faster, while maintaining measurement-level accuracy. This is the next generation of the company's mobile optical tracking and 3D scanning systems. SCANOLOGY's NimbleTrack Gen2 is designed to deliver higher performance, especially in speed and measurement range.

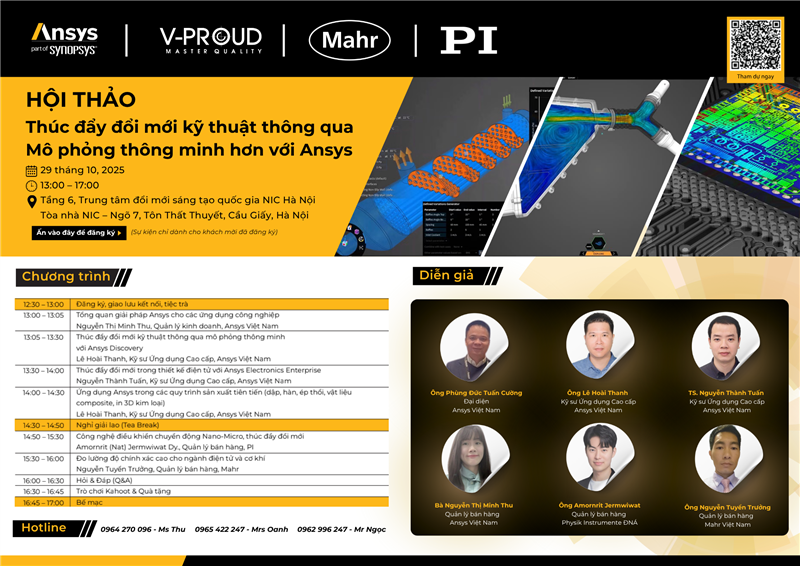
A breakthrough opportunity for R&D processes awaits the Vietnamese engineering community. The specialized workshop "Driving Engineering Innovation Through Smart Simulation" organized by ANSYS will take place on October 29, 2025, at the Innovation Hub Building, updating the latest advanced simulation solutions for the manufacturing, electronics design, and Nano-Micro industries.

In the global race to automate manufacturing, China is emerging as a pioneer with the “dark factory” model – where robots and artificial intelligence completely replace humans. Requiring no light or rest, the new generation of factories operate continuously 24/7 with superior precision and efficiency.
According to a recent case study, one aerospace company found that its quality control workflow could be performed “twice as fast” with 3D laser trackers and metrology software when compared to doing the job without it.
Because manufacturing doesn’t typically happen in a temperature-controlled space, the metrology solution must be able to accurately measure parts in that environment. The hardware must be capable of achieving the desired accuracy over a wide range of temperature and humidity, including any compensation procedure. Smart metrology software must also have embedded temperature compensation algorithms, taking care of the thermal expansion/contraction of materials as the temperature changes. Again, if an organization must build a special temperature-controlled lab for their quality control solution, this won’t capture the important benefits of portable metrology.
![]()
Range
The portable metrology tool must have the range necessary to measure the critical dimensions of the project. Especially when it comes to aerospace, parts can be huge — sometimes up to 80 meters for launch vehicles or large planes — thus requiring a tool with extensive range. Of course, for smaller operations like turboprop or small business jet manufacturing, the size of the parts might be smaller. But it’s still important for manufacturers to ensure that their 3D laser trackers have the range required for their past projects and potential future designs.
For smaller parts a portable CMM may be sufficient, but it must have the reach necessary to measure the entire volume.
It is inevitable that OEMs need to move the device to cover a very large part or assembly. We often think that moving a device can degrade the accuracy of the measurement network. However, smart metrology software can significantly improve the accuracy with network bundling capabilities by leveraging the specific uncertainty shape of laser tracker measurements.
With much of the aerospace world also shifting toward drones, EVTOLs and green aircraft designs, it’s not enough for OEMs to calculate their metrology needs based on past projects. The aerospace organizations of tomorrow need to keep an open mind as to what their engineers and designers might send to the production line floor in the future.
![]()
Reach
Besides the range required for an OEM’s 3D laser trackers, whatever hardware they choose to bring into their workflow must be able to reach to probe any critical dimensions, while still maintaining the greatest possible accuracy.
Metrology equipment can be relocated around the part to gain line of sight and measure hard-to-reach areas. But aerospace OEMs need to consider that this might slow down the manufacturing process — and consider cost and ROI in accordance.
Some laser trackers feature extensions to help alleviate concerns of this nature. For example, a laser tracker can have an additional probe that can limit device moves. Or it can have the ability to integrate a portable coordinate measuring machine (PCMM) arm into the coordinate system, thus eliminating the need to move the part so much.
Accuracy
After taking the three above factors into consideration, it’s important to ensure that the metrology equipment achieves the accuracy required to inspect the critical tolerances on the parts.
It’s essential to test and demo whatever tools are being considered in the actual manufacturing environment that an organization will use them. Aerospace companies should make sure to consult experts in the relevant fields — both within their organization and outside of it — to confirm that 3D laser trackers meet the accuracy standards to fit into their workflows.
In order to comply with internal or international standards, aerospace companies evaluating a portable metrology solution should confirm that the solutions they’re considering are certified to a known and traceable standard such as ISO 10360-10.
![]()
Efficiency
Choosing a metrology software with dedicated tools tailored for laser tracker workflows is essential to unleashing the highest efficiency. As an example: A large digital read-out (DRO) provides live feedback for when workers are far from the computer, simplifying the inspection and assembly process.
Large parts and assemblies mean large CAD models. Choosing the appropriate metrology software — one that is able to import very large CAD models in their native file format, in the fastest time, while still allowing smooth manipulation — is key for an efficient workflow. The ability to preserve all information from the original CAD, including the tree structure, allows users to search in the imported CAD model and quickly trim unnecessary components for inspection or assembly.
Powerful Geometric Dimensioning and Tolerancing (GD&T) algorithms embedded in smart metrology software allow swift analysis and remove hassle from the operator, who now has the time to decode issues, as all tolerances are automatically evaluated. Metrology software with full model-based definition (MBD) allows import of GD&T information directly from CAD models, saving time for the operator.
Ultimately, 3D laser trackers are incredible tools that can be implemented into aerospace workflows. They provide both human-level benefits — by ensuring the utmost level of quality was used on the manufacturing floor — and organizational benefits — by maximizing timesavings and minimizing scrap, rework and wasted materials. Plus, as the world continues to innovate toward zero carbon emissions, efficient technologies like laser trackers are one way the aerospace industry can help do its part in achieving that goal.
Source: qualitymag
Read Quality Mastery magazine to get more information about quality management: https://qualitymastery.v-proud.vn/
If you are looking for quality management solutions, visit the following websites: v-proud.vn/product and doluongcongnghiep.vn.
#lasertracker #3D #CMM #portableCMM #aerospace #measuringarm #taydodidong #API
(84) 896 555 247